I noticed that there’s a lot of fresh asparagus at the grocery story so I decided to share a recipe to take advantage of that. I know you’ll love this recipe (assuming you like chicken and asparagus!). This recipe from Creme de la Crumb is super easy because it doesn’t involve a lot of prep work. I was skeptical before making it for the first time. It uses dried herbs and I’ve always thought fresh herbs are best. Ignore that piece of advice for this recipe and carry on.
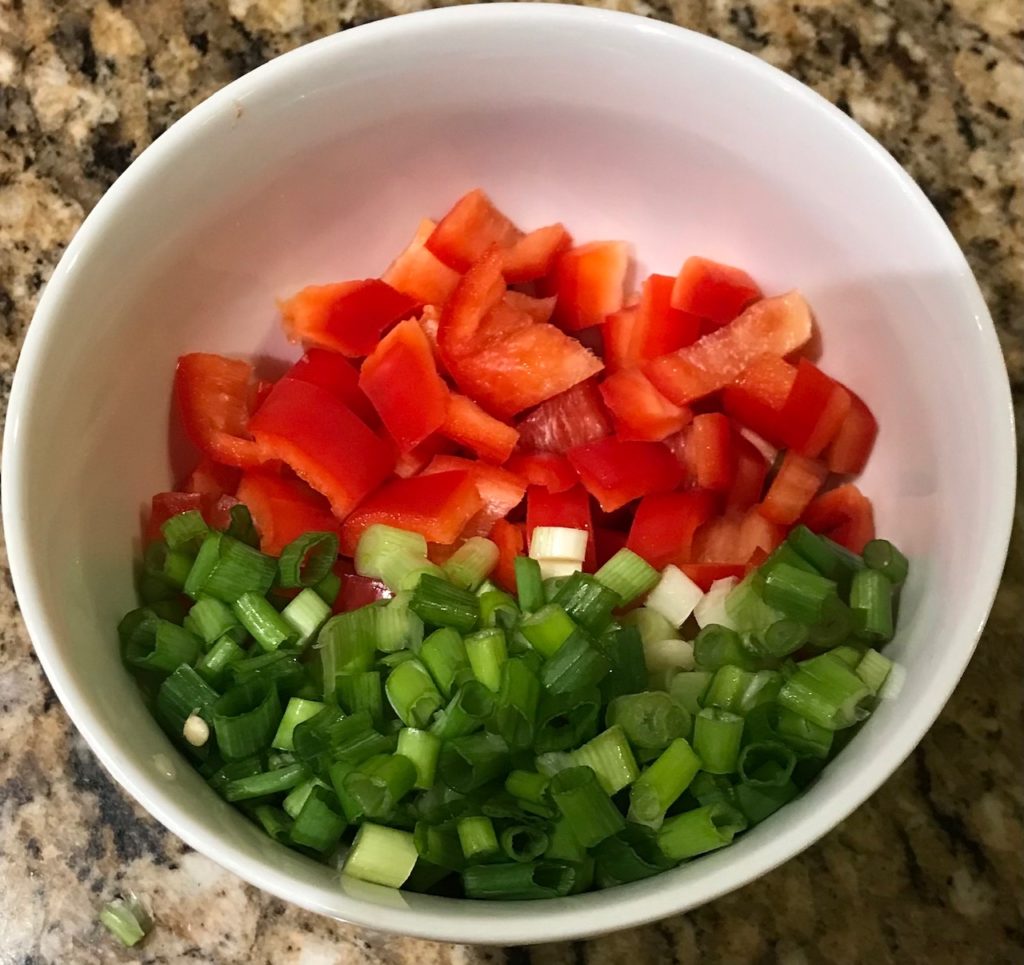
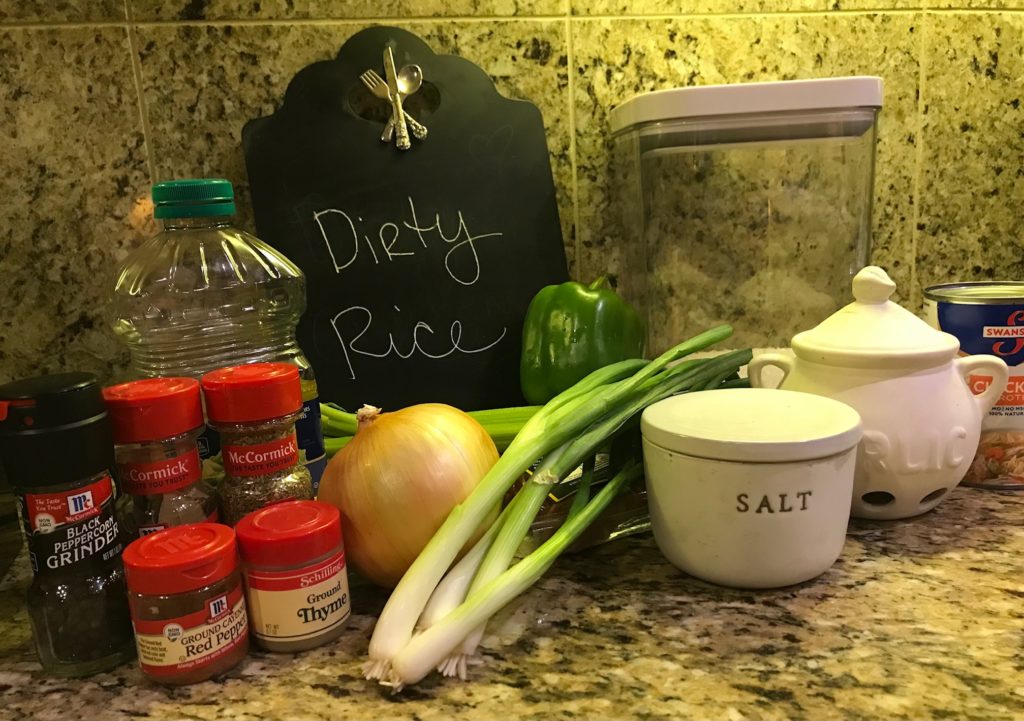
Gather your ingredients. Mince some garlic. Measure out your herbs of dried basil, oregano, and thyme (or use a short cut: Italian seasonings!) Don’t forget some onion powder. Trim the asparagus so the woody stems are gone. I usually trim an inch or so. I have no idea if I’m being wasteful or not, but it seems to work.
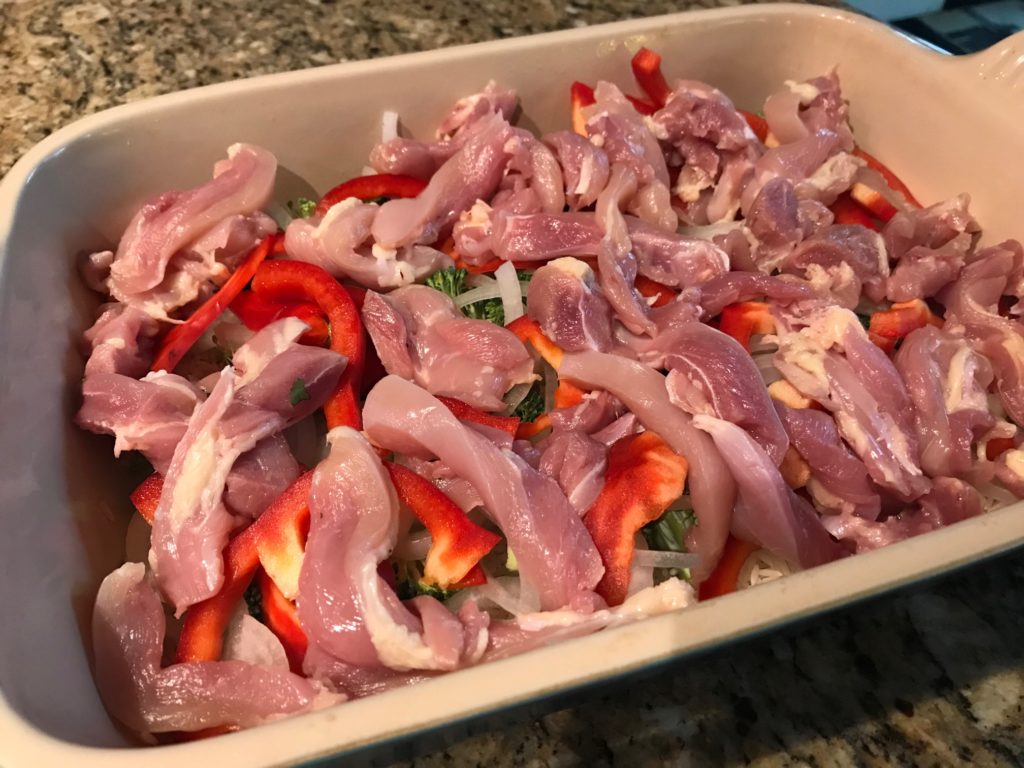
Season your chicken thighs with salt and pepper. You can also use chicken breasts, but I prefer thighs because they are cheaper and more flavorful. If you do use chicken breasts, pound them until they are an even 1/2 inch thickness.
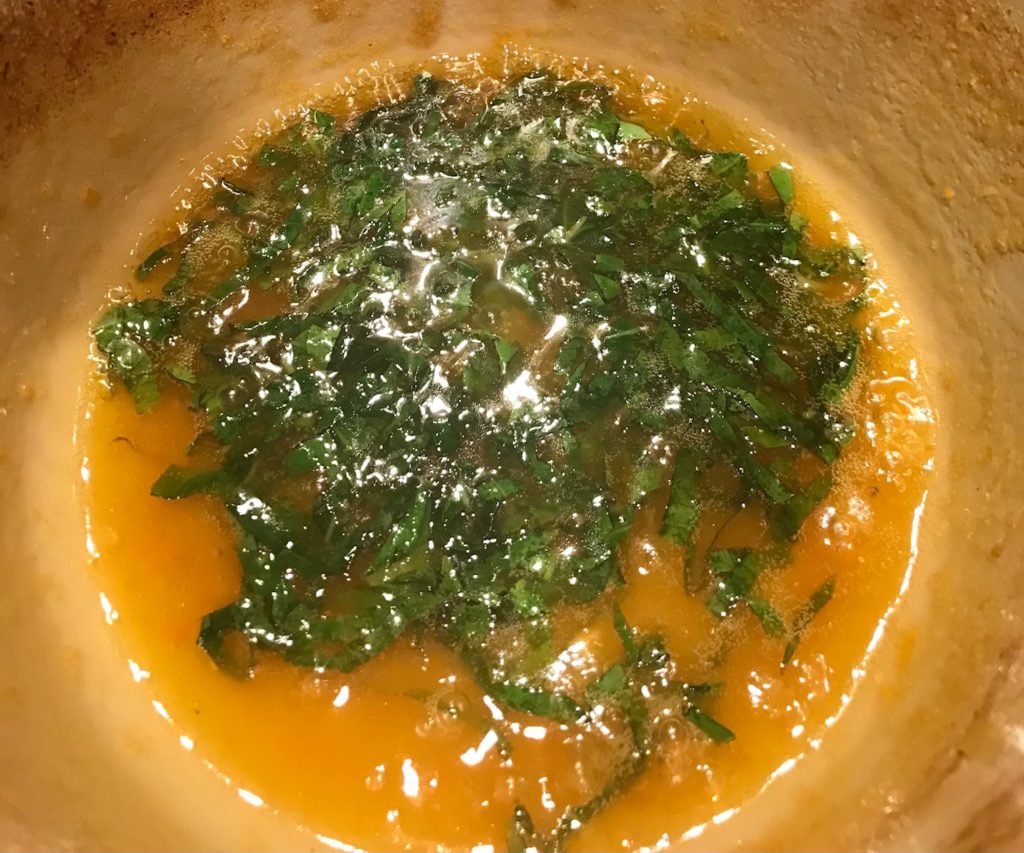
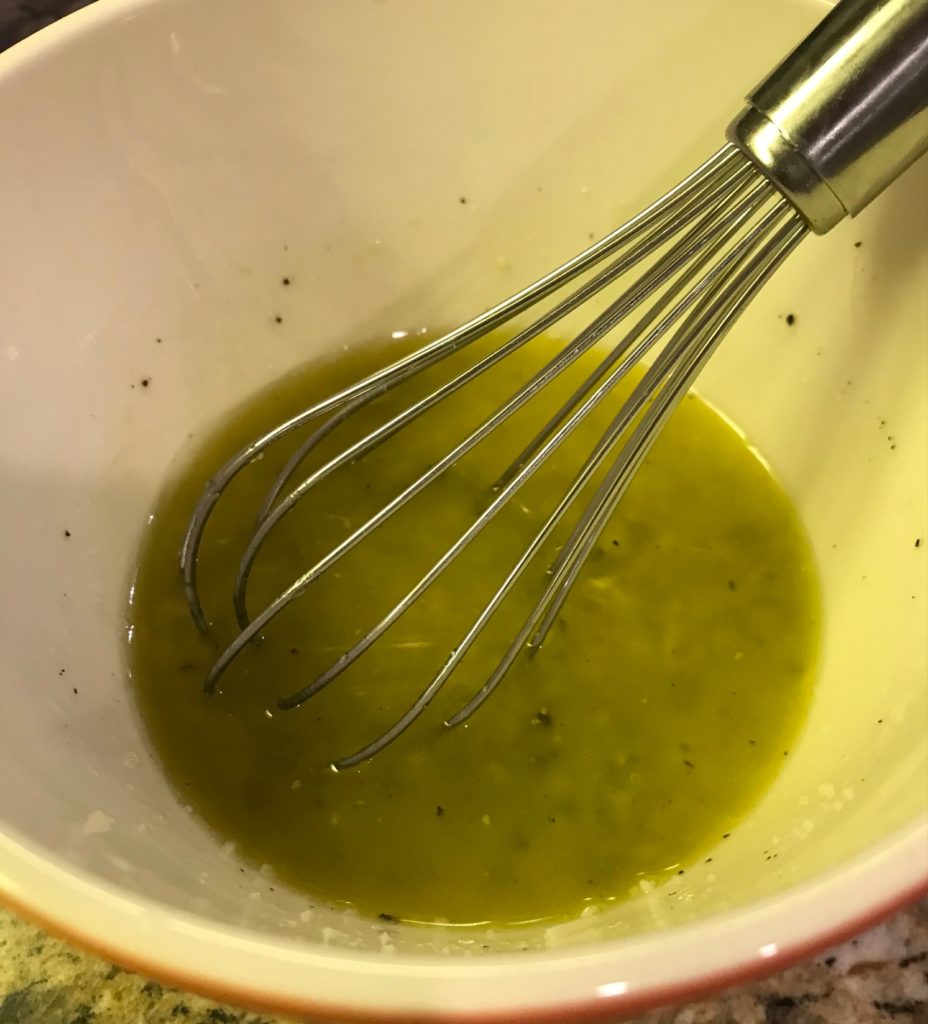
Melt butter in a large pan. I like using a cast iron skillet, but any skillet or pan will do. After melting the butter, throw in your garlic and seasonings. Cook it for a minute or so. You want to smell the garlic.
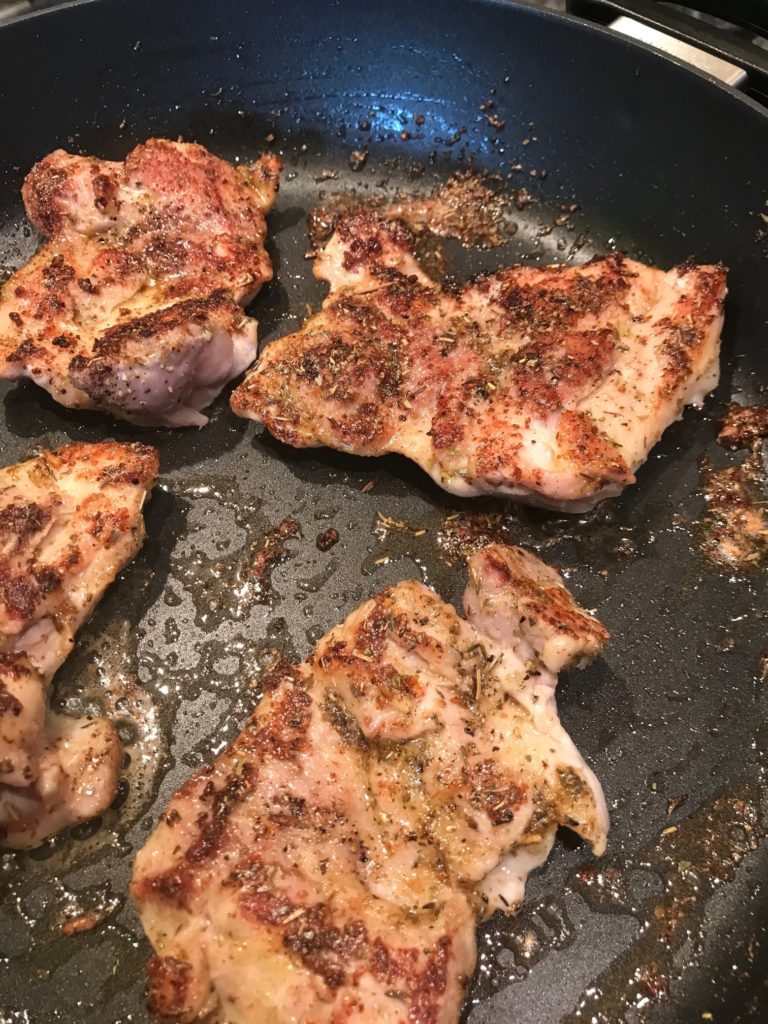
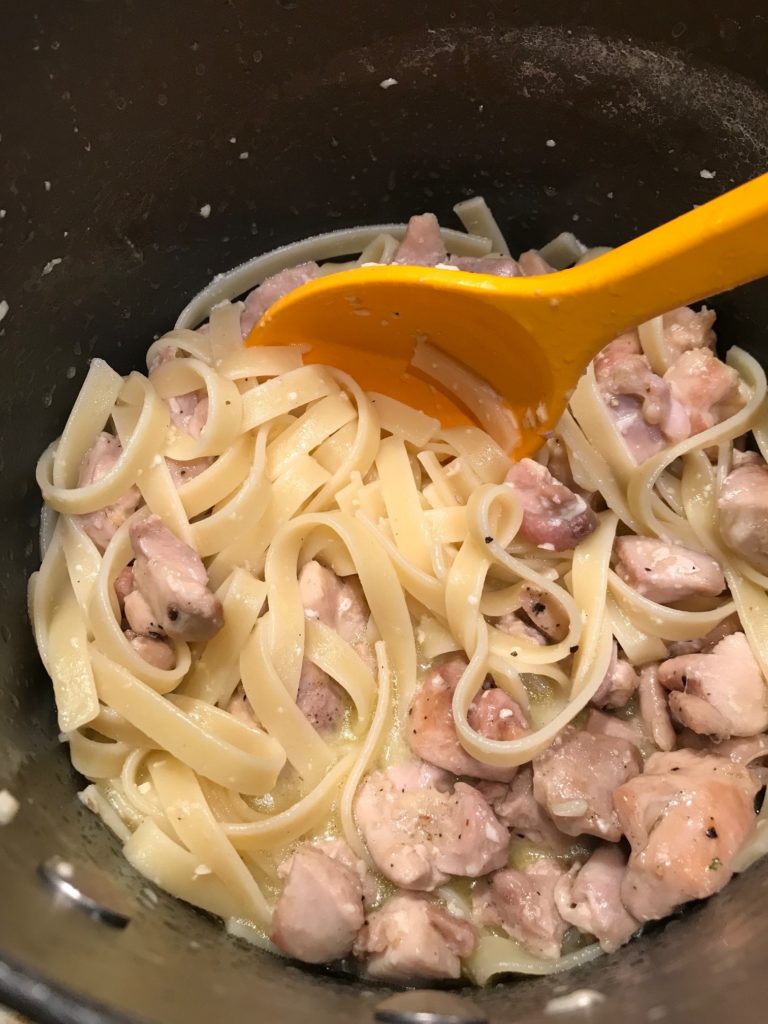
Lower the heat and add the chicken. Cook it until it’s almost cooked through. Move the chicken over and throw in some more butter. Sorry, but this dish is not low-fat. But it is low carb. Switch diets depending on what you follow.
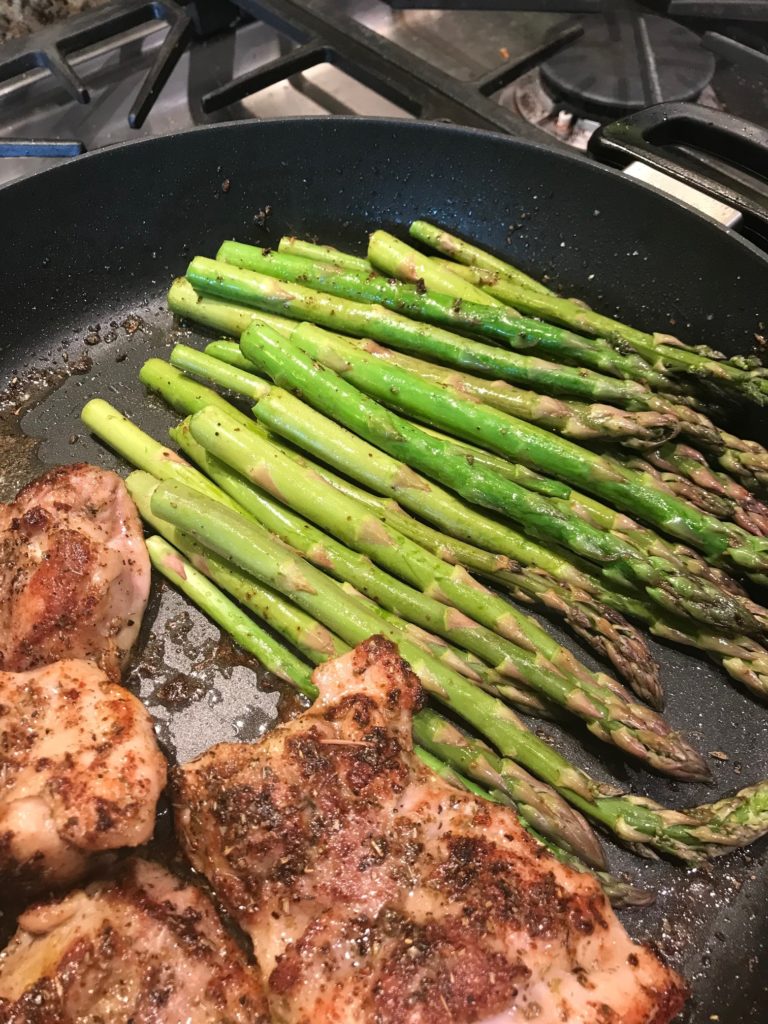
Add the asparagus sprinkled with some salt and pepper. Cook it until tender (and not a second more!) and chicken is cooked through.
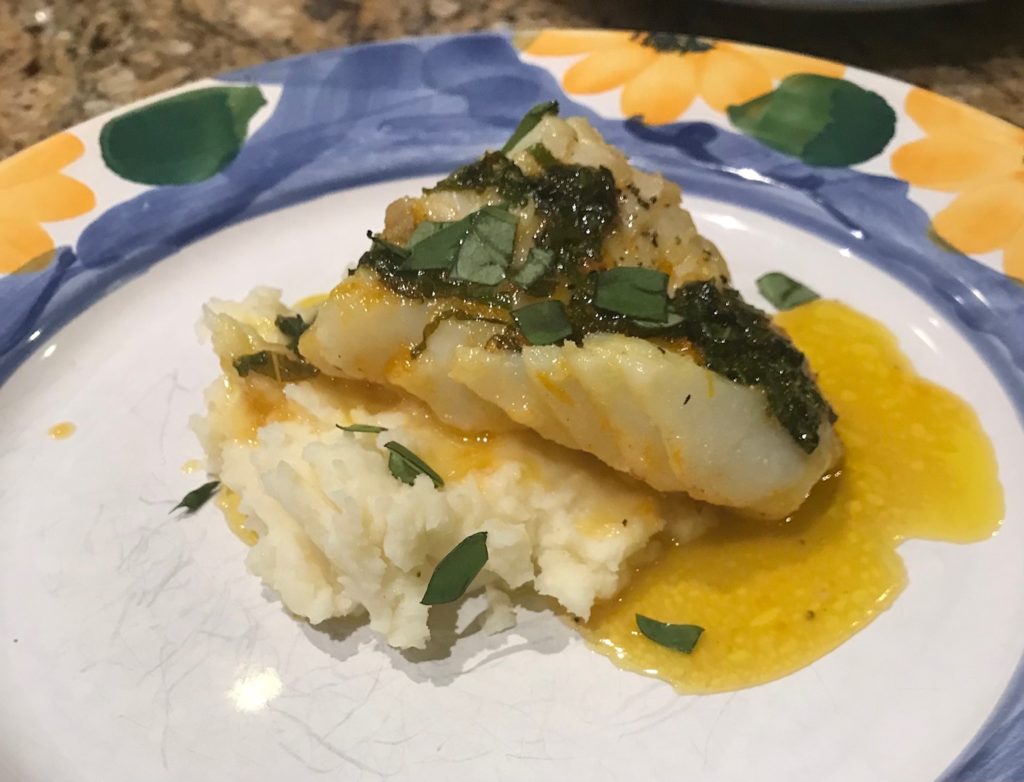
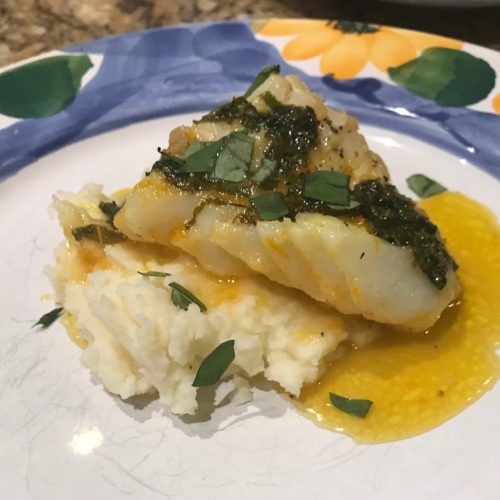
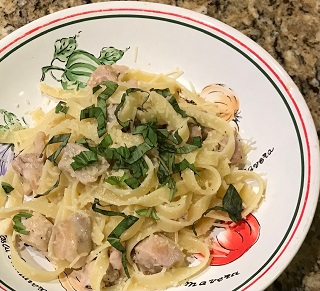
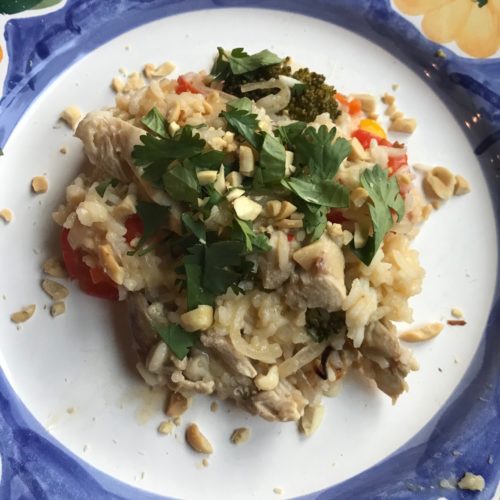
And that is it. You can serve it with your favorite carb or as is. It’s fresh and delicious. The herbs create a crust on the chicken that is out of this world. They also coat the asparagus. Did I mention how easy it is to make?
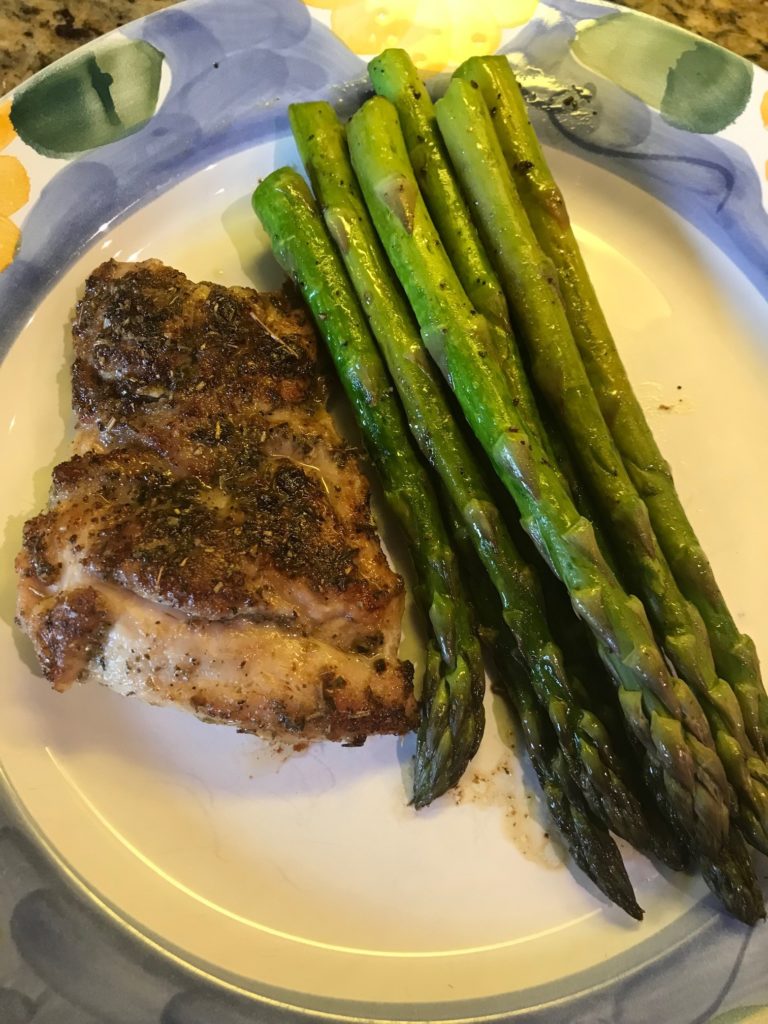
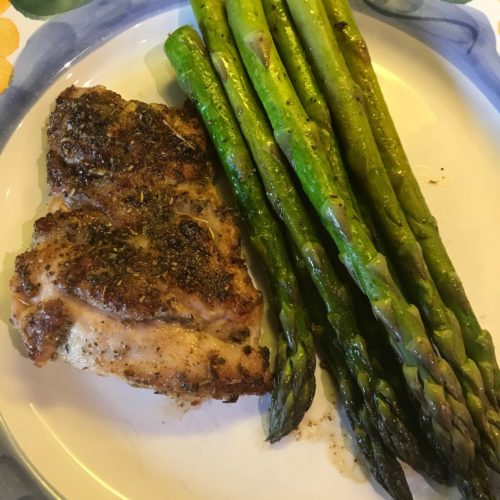
Garlic Herb Chicken and Asparagus
Ingredients
- 4 boneless. skinless chicken thighs
- salt and pepper
- 1 pound asparagus ends trimmed
- 3 tablespoons butter divided
- 1 tablespoon minced garlic
- 1/2 teaspoon dried basil
- 1/2 teaspoon dried oregano
- 1/2 teaspoon dried thyme
- 1/2 teaspoon onion powder
Instructions
- Reduce heat to medium, add chicken to pan, and cook for 6 minutes, then flip and cook another 5 minutes. Chicken should be nearly, but not completely cooked through.
- Scoot the chicken over to the side and add remaining 1 tablespoon butter to the empty portion of the pan. After the butter is melted, add asparagus. Season asparagus with salt and pepper, to taste. Cook, rotating throughout, for 6 minutes until tender and chicken is completely cooked through.
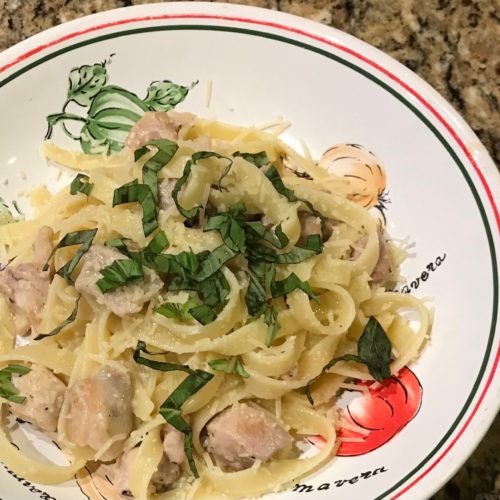
- Serve immediately garnished with freshly cracked black pepper.